So our foster pup who will probably never leave us, has to go to dog school if he gets to be part of Team Fontaine. Doogie has been with us since Christmas. He has some dog on dog aggression issues, and fear of basically everything (loud noises, men, the wind) but if you’ve ever trained a dog you know that for most dogs, food is better than gold. Doogie would commit murder for some hot dog (even a Turkey dog). Though this upcoming week is his last week of this particular class, training is an ongoing thing so I decided to make him a cute treat pouch! Mostly because if I don’t have pockets it’s really tough to have that ziplock bag in one hand and ready to go when he’s doing the right thing.
Things you will need:
4 rectangles of fabric (two cotton or some other cute print, the other two vinyl or similar for the interior)
Ribbon, basting tape, or fabric that has been folded into something suitable for your drawstring
Basic sewing stuff: machine, thread, seam ripper
Ready? Bring on the bacon.
I went to Joann’s Fabric today (always ill-advised for my wallet) and they had fat quarters on sale. I saw a cute bone print and decided to grab it for 99 cents! I also had a cheap shower curtain I bought wayyy back to use for the backing on some bibs, which I didn’t get around to making. I decided to use the curtain material because we use high value treats like hot dogs, cheese, and bacon, and I wanted something that could be rinsed clean/grease wouldn’t soak through.
I cut one large rectangle of each fabric, about 7 inches wide by 16 inches long (ish), and pinned them together.
Then, I cut that large rectangle into two equal pieces and set them aside. (In a minute you’ll sew those two pieces together with the shower curtain side facing outward). But first, you need to press the seams on a pocket if you want one, and the material you will sew into your drawstring piece.
I’m sure I have basting tape somewhere, but it’s all dark colors and I wanted to use this red instead. You will make a lip on each side and press them inward, one overlapping the other, so you can zigzag stitch on top of that overlap, creating a drawstring piece.
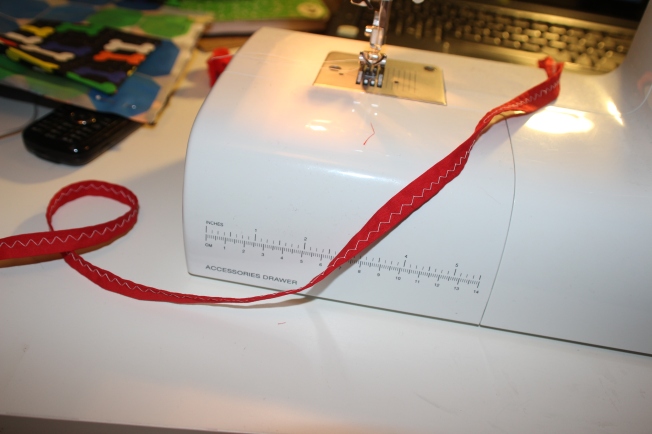
When you're done, it will look roughly like this. I like the way zigzag stitches look, but it also ensures that you are closing the overlap even if it's not perfectly straight (unlike a straight stitch).
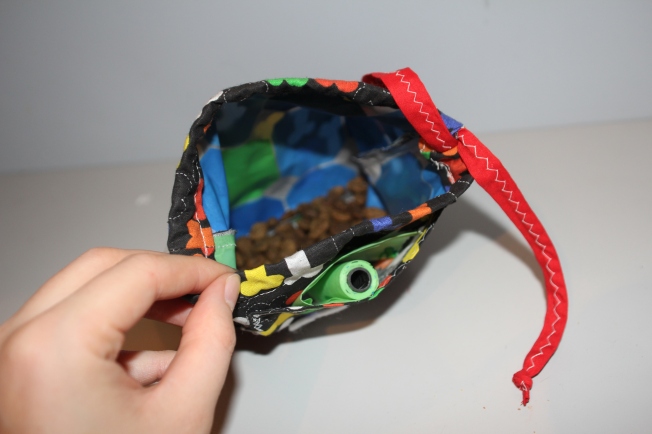
I also pressed the seams on my patch I cut out for the pocket. I wanted somewhere to stash the poo bags and treats all in one! I did a zigzag stitch on that too.

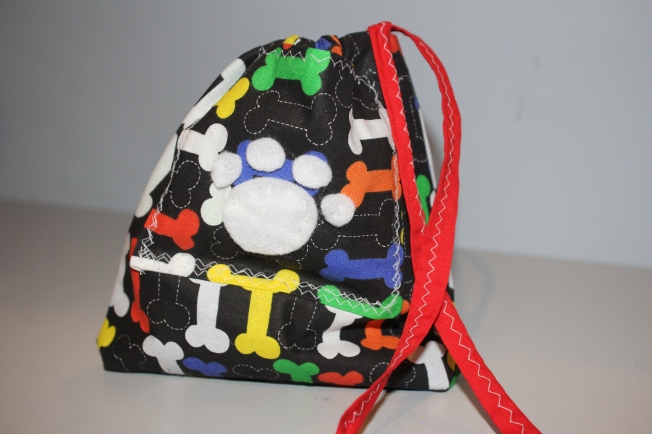
There's my pocket and my drawstring. I decided to also cut a little paw out of some felt I bought for another project- you can see that I just hand stitched the paw pieces onto the pocket.
Now that your pocket and drawstring is ready, you will want to sew your pocket onto one of your duos of fabric. (If you care about the inside of you your bag being perfect, you should actually sew the pocket onto one of your bone fabric pieces BEFORE you pin it to your inner fabric piece).
I put my pocket on with some more zigzag stitching. Once you’ve sewn your pocket on you can sew the main body pieces together. The bone fabric should be facing itself and the shower fabric should be on the outside. I kind of skipped some pictures here, whoops. Sorry about that, I was getting too antsy to finish and Chris kept interrupting me to figure out what we were going to have for dinner. I got distracted.
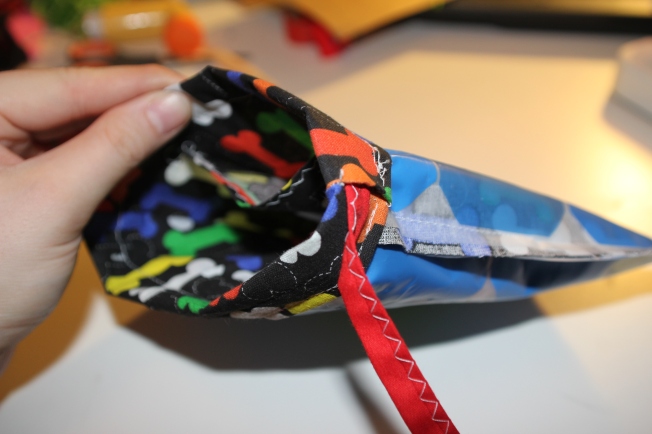
Once you have the two body panels sewn together, you will leave it inside out and then flip the top edge over 1/4 inch, and sew it closed. Repeat this step a second time, except instead of just a 1/4 inch, you will want this one to be wide enough for your drawstring to fit inside. My second lip was about 3/4 of an inch. Once you have flipped and sewn the top lip TWICE, you will use your seam ripper to undo the stitching on one side, just enough to get your drawstring threaded inside.
Then you’ll pull the safety pin through the other side and have both sides of your drawstring hanging out. Ditch the safety pin. Now, turn it right side out and you’re almost done. I tied little knots at the end of my drawstring too.
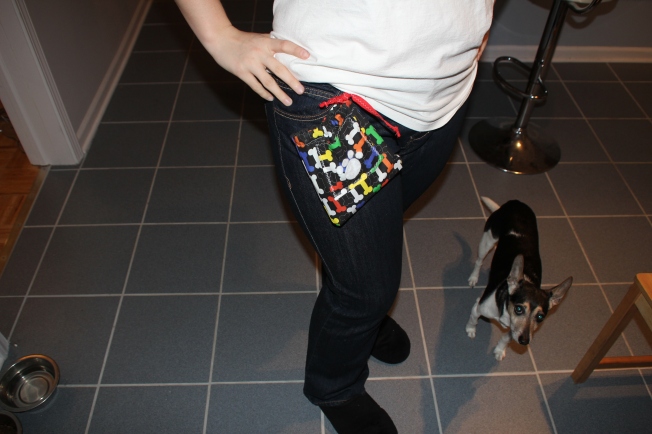
I opted not to use a metal clip for hooking this to your belt loops. I decided instead to just make sure my drawstring was also long enough to tie into a bow and use to tie that to my belt loop instead.
So now I can easily get to the Doog man’s treats when we’re training on our walks. Yay! Not too shabby for $1 in fabric


Pingback: DIY Fun and Reusable Gift Ideas